DIY socket installation
To know how to install an outlet, it is not necessary to be an electrician by profession - the knowledge about electrical circuits that was obtained at school in physics lessons is enough. From there, one must remember the first rule of such work - they are all done with the voltage turned off and only after the final check of the work results is the power turned on.
Content
Choice of connection type - internal or external
Before installing a regular outlet at home, a fairly large amount of work is done. First, the wiring is calculated, on the basis of which the devices themselves and the wires that will fit them are selected. Then wiring is laid throughout the apartment, and the sockets themselves are installed before or after the final finishing of the walls, depending on which method will be used.
Different types of sockets are designed for use in certain conditions, but when choosing a method of how to install an outlet in an apartment, they are most often guided by the issue of ease of installation. It is not always possible and necessary to lay a cable inside the wall, especially since a certain percentage of sockets will be connected according to a temporary scheme - for example, if this happens in a rented apartment.
Foundation preparation
Internal and external sockets must hold on to something, and the fastening must be of high quality, because the contacts of modern devices are made spring-loaded, for tight contact with each other. This is necessary to reduce the resistance to electric current, but also a modern euro socket can jump out of the wall when trying to remove the plug from it, if the base does not hold it well enough.
As a result, the base must be securely attached to the wall, for which additional accessories are used. In a hidden socket, this is a socket box, which is walled into the wall, and the open one is fixed with dowels or screws.
Installing the socket
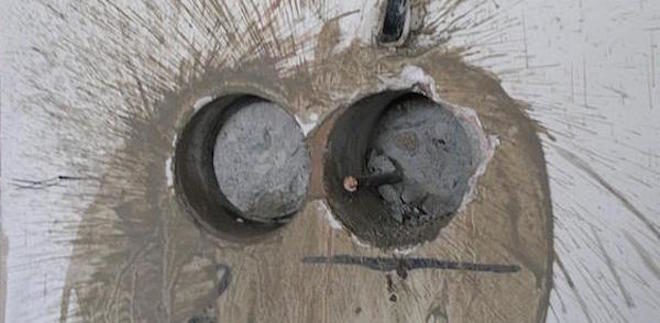
In fact, it is a plastic glass walled into the wall. If you install sockets without it, then very soon its fasteners will crumble even the most durable concrete and it will fall out. The plastic is viscous enough for fasteners to cling to and rough enough to hold onto the wall.
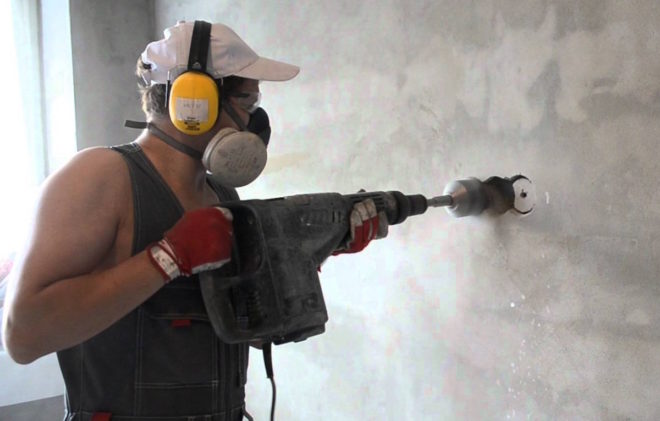
If the installation of the socket is done outright, then first a hole is drilled for the socket. To do this, you need a drill with a crown or a drill for concrete. The hole diameter should be slightly larger than the flush mount to be installed. If you are replacing the socket with your own hands, and the old socket for some reason does not fit the new socket, then it is drilled out of the wall and a new one must be put in its place.
When the hole is ready, the socket wire is laid to it and now you can start installing the socket itself. For this, a small amount of gypsum mortar (alabaster or cement) is prepared and the hole in the wall is coated with it on the sides - now you can insert the socket box (after passing the end of the wire into it).
The socket box is exposed in such a way that its entire area, without distortions, is flush to the wall surface. When you push it into the wall, a certain amount of mortar will usually come out.
Now it remains to wait until the putty has completely hardened - the socket is ready and an internal socket can now be installed in it.
Base for an external socket
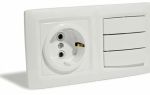
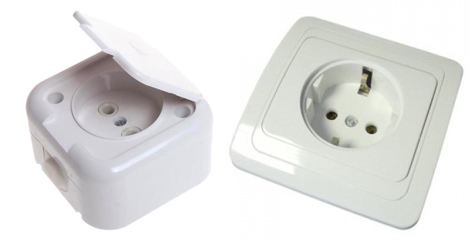
The outer socket consists of three parts - base, inner part and cover. They are connected to each other in the following way - the base is attached to the wall, the inner part is screwed to it and a cover is put on it, which is fixed with a bolt.
Often, all preparation for fastening is reduced to drilling holes for dowels if the socket is to be installed on a concrete wall. If you install an electrical outlet on a wooden surface, it all comes down to tightening the screws. True, if the screws are thick, then it does not hurt to drill holes for them with a slightly smaller diameter so that the tree does not burst.
There is only one nuance here - the base of the outlet is made of plastic, which burns and melts. The requirements of the PUE, if necessary, put the outlet on a tree, prescribe to make an additional base for it made of non-combustible material.
Preparing the wiring
The length of the wire, which is left in the socket, periodically becomes the subject of heated debate. On the one hand, it is advisable to leave it as long as possible, because during repair work, the end of the wire will most likely have to be bitten off and a margin is needed. On the other hand, the socket will change either once every many years or if it overheats and melts, when part of the wire is likely to become unusable. At the same time, it is far from the fact that it will be a small piece of it, because everything is squeezed together in the box.
Otherwise, the preparation of the wire is completely identical for both external and when installing ordinary internal sockets.
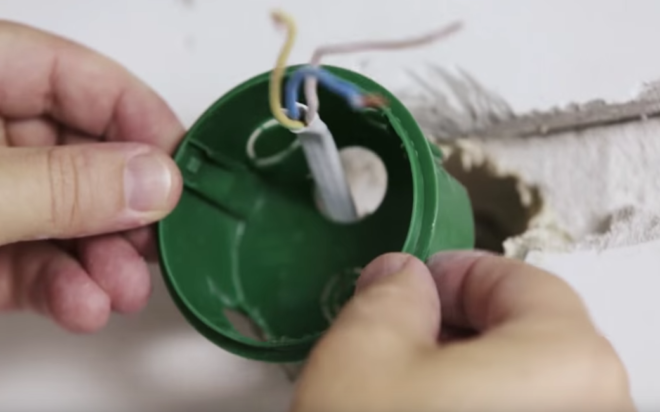
Wire color
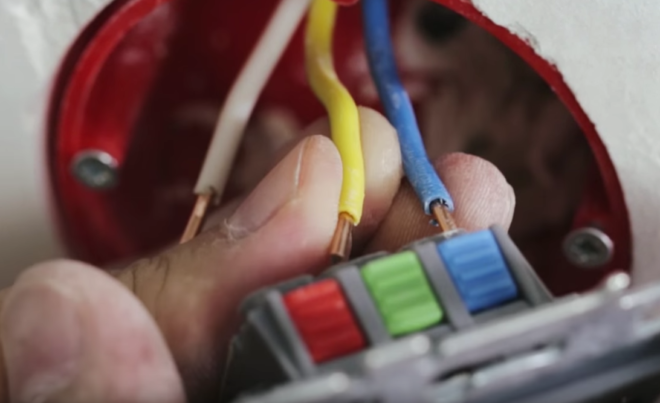
Correctly installed wiring for outlets is characterized by the use of wires of a certain color. This is not a prerequisite for its normal functioning, but it provides invaluable assistance during installation and repair.

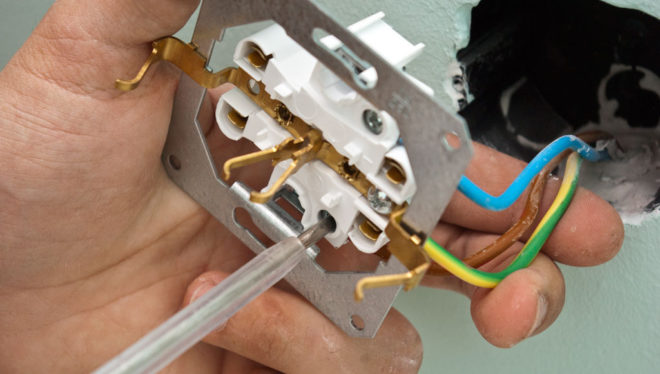
The two most important colors that need to be connected correctly are blue and yellow-green. The first means zero, and the second ground is the same zero, but connected not for the operation of the equipment, but to protect it and users from the phase hitting the case. The rest of the colors can be different and the phase is "hung" on them.
If the installed wire is colorless, then you will have to call it additionally with a probe or tester - which of the wires is connected where.
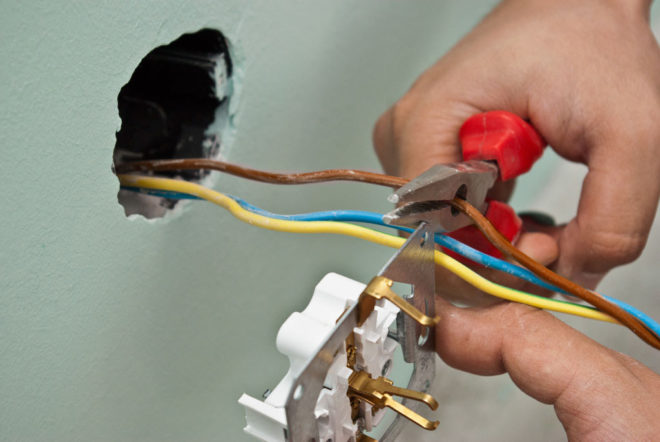
Cleaning the insulation
Professional electricians have special tools for this purpose, but if you install the sockets yourself, they are unlikely to be at hand. At home, a knife or pliers are used for this purpose, which have wire cutters.
If you use a knife, then the blade must be held at an acute angle so as not to snag the wire. When pliers are used, the pliers will compress the insulation slightly and tear off. If a difficult case is caught, then the edge of the wire is heated by the fire of a lighter and then comes off.
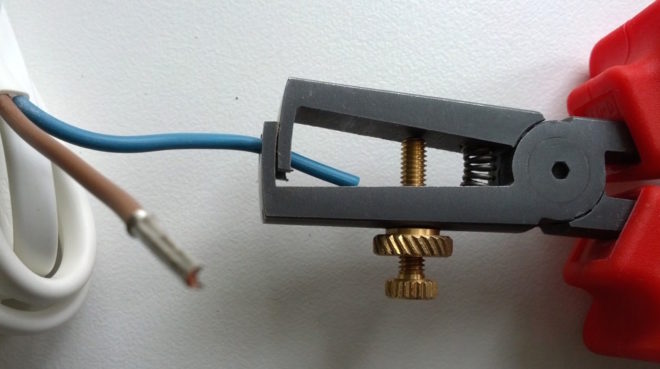
Work with the professional electrician tool for stripping wires and stripping insulation is well shown in this video:
Vein preparation
It differs slightly when using solid and stranded wiring. The general principle is one - you need to make sure that the contact area between the wire and the terminal is maximum. Logically, for this, you need to make sure that the largest possible section of the wire adjoins the terminal.Additionally, the vein is crimped with pliers - at the same time, it flattens a little and the contact area increases.
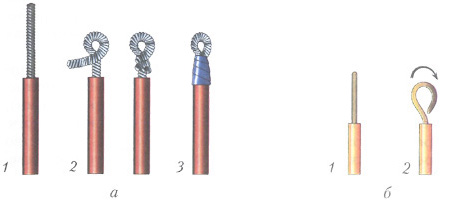
To increase the length of the part of the single-core wire that touches the socket contacts, it is twisted with a ring so that its inner diameter fits the terminal bolt. When installing it, you will have to completely unscrew the mounting bolt, insert the wire and tighten the bolt back, but the contact will be as reliable as possible. A stranded wire is processed in the same way, but there is another way for it. To do this, all the veins are divided into two groups, each of which is twisted together - the end of the wire is obtained in the form of the letter "V". Now the wiring must be flattened with pliers and they can be inserted into the socket contacts without even unscrewing the bolt completely.
Tinning or crimping
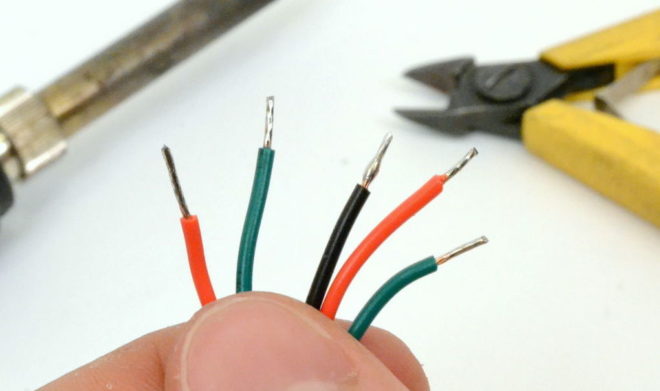
Frankly, this is not at all an obligatory stage for household devices, but if we consider how to properly install powerful sockets, or how to connect the wires as reliably as possible, then you cannot do without it. The fact is that the action of an electric current causes vibrations in the contacts of the outlets and over time the wires in them loosen, especially if they are multicore. It should also be borne in mind that over time, the copper wire, when it comes into contact with air, is gradually oxidized and the loose cores will deteriorate.

In order to minimize this effect as much as possible, the ends are processed before connecting the wires. Tinning is the coating of the core with tin, and for crimping or crimping, special tips are purchased that are put on the wire and pressed into it with pliers or crimping pliers. The tips can be in the form of an ordinary tube or with the addition of a washer at the end, which is pressed by a bolt to the contact.
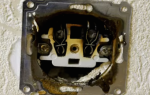
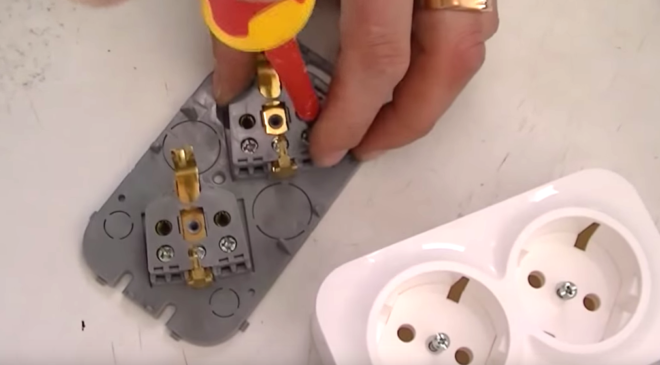
Connecting wires
If you know on which wire the ground is located and where the phase is with zero, then there should be no problems here. On each outlet, you can visually see which terminal is from which contact - it simply will not work to put two wires on one current-carrying plate (if you do not set a specific goal). The main thing is to correctly connect the ground (if any) - usually this contact is in the middle and refers to the antennae that stick out from the top and bottom of the outlet. The phase with zero is connected to the extreme contacts connected to the plates into which the plug is connected. Then the bolts are tightened - the connection is complete.
In the PUE there is not a single provision regulating this parameter, and all such statements fall apart into one indisputable fact - the plug can be inserted into the outlet as you like. Accordingly, there is no difference how to correctly install the outlet - with a phase on the left or on the right - any sane electrician, before going into the outlet, must use his voltage indicator and check its location, even though the wires are color-coded.
Fixing the socket in the socket
If the wires are well fixed in the terminals, then it is simply impossible to insert the assembled socket mechanism into the socket box incorrectly, especially since there is a limiter on its case, thanks to which the socket fits snugly against the wall. It is only necessary to collect the wires together, bend them, neatly folded behind the socket and insert everything inside the socket.
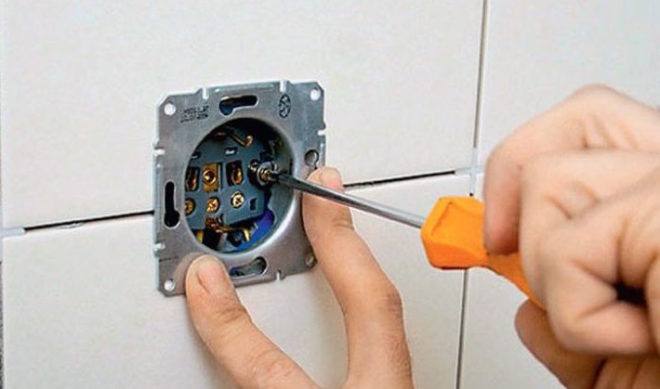
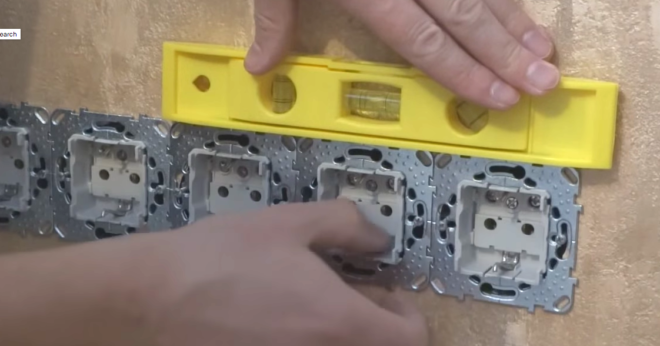
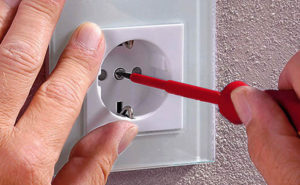
The socket is fixed in two ways - with spacer lugs and fastening bolts that are screwed into the socket - for them, slots are made in the restricting bar. After the socket is pressed against the wall, the bolts of the expanding legs are tightened and they securely fix it in the wall. To prevent the socket from loosening from inserting and removing the plug, fastening bolts are already used.During the installation process, using a level, we check the horizontality of the socket frames.
For an open socket, this step is skipped, since usually the inside of the socket is already fixed to the base.
Cover installation
 Everything is quite simple here - the cover is put in its place and screwed with a bolt (sometimes two). The only thing to consider is the possible presence of a decorative overlay. It is not screwed to anything and is held in place by a lid. Its task is to hide possible wall defects due to the installation of a socket outlet. On some outlets, the decorative strip is larger than standard and therefore does not allow assembly of the outlet strips with the standard body spacing. If such a structure is installed, then special attention should be paid to this moment.
Video selection
Short video tutorial from Leroy Merlin:
Installing an external Legrand socket:
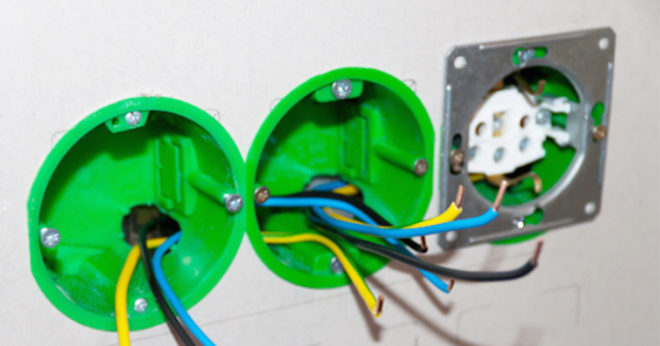
Installation of three daisy-chain sockets:
Install a block of five sockets:
Installation of sockets and switches in the slopes of plastic panels:
As a result, the installation of the outlet can be broken down into several simple steps, which can be done even by a person with minimal tool skills.