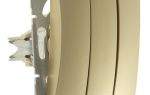
How to repair a light switch

A non-working switch is a problem that almost every owner has ever faced. You can solve it by calling an electrician, but if you do not want to waste time waiting for a specialist and pay money to fix a simple breakdown, then you can repair the switch yourself. If the check shows that it is useless to repair the device, it will have to be replaced, but in most cases it can be restored. Malfunctions are usually caused by poor contact between the switch plates due to carbon deposits. In this article, we will answer in detail the question of how to fix a light switch, as well as give some useful recommendations to help avoid this malfunction.
Preparation for work
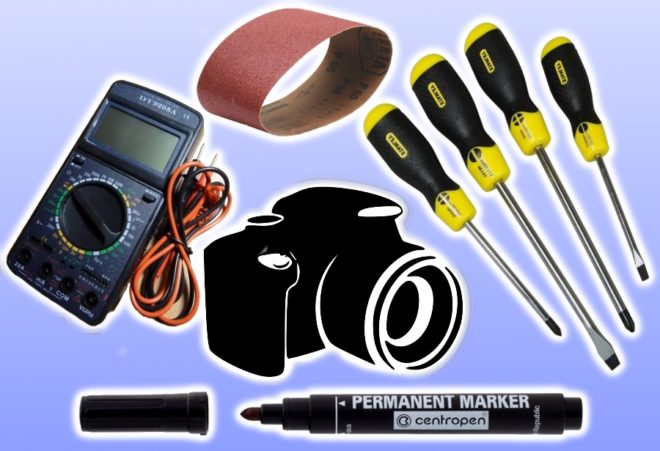
Before you start repairing a broken switch, you need to stock up on the following tools and accessories:
- Multimeter or indicator screwdriver.
- Slotted screwdriver of the correct size.
- Marker.
- Fine-grained sandpaper.
It is advisable to photograph the results of each disassembly stage during operation - this will help not to get confused when you assemble the structure in the reverse order. Therefore, you will also need a camera or mobile phone with a camera.
Repair procedure
So, the switch does not work for you, you decided to repair it yourself and have already prepared the necessary tool. Now we go directly to the repair, which will be easier for you to perform, guided by this step-by-step instruction:
- In order to prevent electric shock during operation, first of all, the apartment must be de-energized by unscrewing the electrical plugs or turning off the switch.
- Make sure there is no voltage by checking any household outlet with an indicator screwdriver.
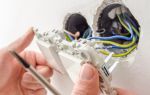
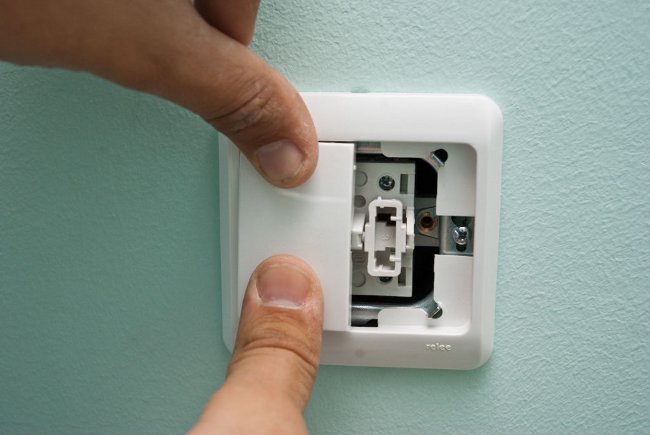
- Dismantle the light switch. To do this, remove the decorative cover, additionally check with a screwdriver-indicator that no current is supplied to the device, and then unscrew the side mounting screws. Now the body of the device can be pulled out of the socket.
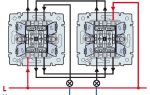
- Separate electrical cables from the light switch. If the device has two keys, it is advisable to mark the input core with a marker, otherwise they can be confused when reconnecting.
- Disassemble the case. Opens access to the contacts, which are usually the cause of the breaker failure. They are located under a plastic key fixed with screws.
- Carry out a visual inspection of the contacts. If carbon deposits are found on them, remove them with sandpaper to restore the metallic shine.
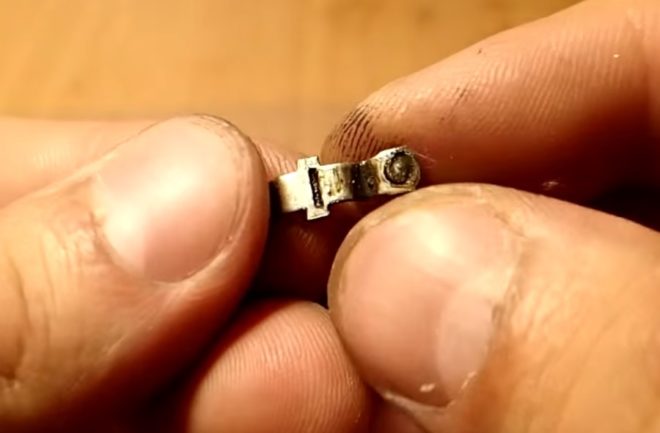
Sometimes carbon deposits cannot be completely cleaned out with sandpaper. In this case, the remnants of it must be removed with a slotted screwdriver sting.
This completes the repair procedure. Now you should assemble the switch in the reverse order. To avoid confusion, you can use the photos that were taken when disassembling the product.
Switch installation
Having assembled the device, we proceed to installing it in its original place. First of all, the lead-in conductor marked with a marker should be connected to the common terminal, and then the remaining cables. After that, the device must be fixed in the socket. Lastly, the body frame and cover are installed.
Sometimes it is not possible to fit the cover onto the switch base. The reason, as a rule, is the incorrect position of the device body inside the socket. It is necessary to loosen the fixing bolts with which the switch is held in the plastic box, and, having put the device body in the desired position, tighten them again.If the product is in the correct position, the lid will slide into place easily.
Then you need to supply electricity to the room and check the operation of the device by turning it on and off several times. If the light turns on normally, the movement of the key is not impeded, the case does not crack - the repair was done correctly.
Otherwise, the switch will have to be removed and all the work done again.
Practical advice
These tips will help you extend the life of the switch and avoid unnecessary work if it breaks:
- If a device that has broken down has been installed for a long time, and even more so - belongs to old samples, it is not worth repairing it. Firstly, it will not be easy due to the natural wear and tear of its elements, and secondly, it is undesirable to use old electrical appliances for fire safety purposes.
- Often, the switch contacts burn out due to the use of too powerful light bulbs. We advise you to replace them with products of lower power, and best of all - with modern LED ones. The brightness of their glow is not less than that of conventional incandescent lamps, and the power consumption is much lower.
- Take your time to remove and disassemble the switch body. Sometimes the malfunction is caused by loose wires, and tightening the screws is enough to restore the device to work.
Visually replace and repair the switch on the video
This concludes our story. We think that this information is enough to understand how to fix a light switch without the help of an electrician. Using this material, you can repair the switch yourself in a short time, not only saving money, but also increasing your authority in the eyes of loved ones.