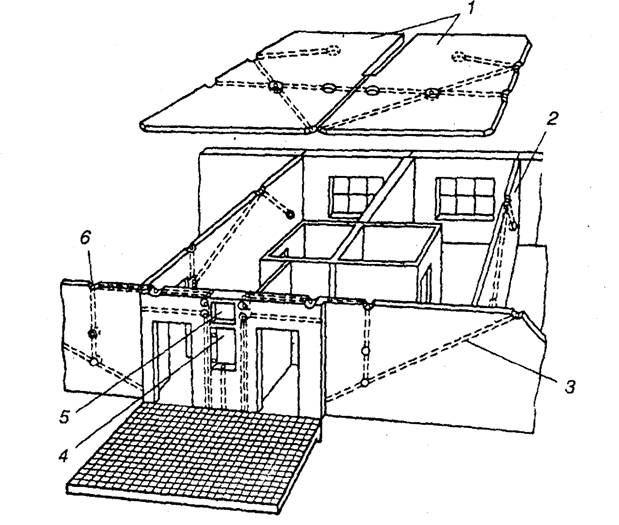
Various ways of attaching wires to the wall
The growth in the number of consumers in residential buildings, as well as in public buildings, dictates the need to replace wires with an increase in energy consumption and lay new internal power grids.
Until recently, it was believed that the maximum electricity consumption for one family could be limited by an automatic machine of 6 A or 10 A. Very little time passed, and a whole line of new household appliances appeared, which required setting current limits of 16 A or 25 A. Today, in many residential buildings are equipped with external electricity meters, 40 and 63 A machines are installed there.
The increase in the number of consumers also requires renewal of electrical wiring, as well as laying new wires inside the premises. Electrical appliances are located in different rooms, and energy needs to be conducted to them by organizing the fastening of the wire to the wall.
It is customary to separate two types of laying the electrical network inside the building:
- hidden wiring is created inside the wall or under a layer of plaster;
- open wiring provides for the presence of a wire on the wall, fixed in different ways.
Content
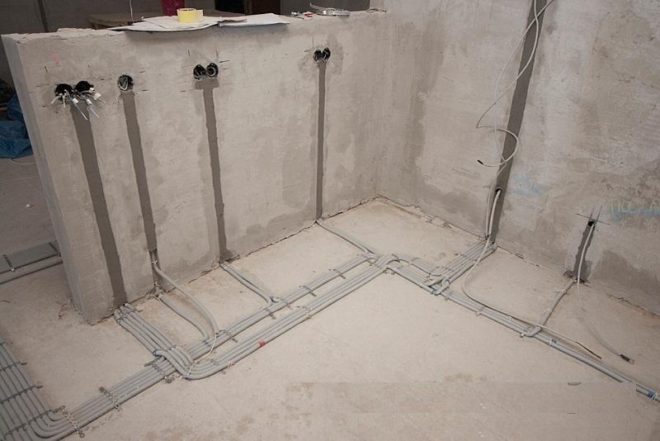
Create hidden electrical wiring
The term itself implies the placement of electrical wires inside the wall. They hide them in different ways. At the same time, much depends on the type of wall, and how it is created. The walls of a residential building are:
- brick, there are different options here: solid masonry, hollow masonry, combined or multi-layer;
- from reinforced concrete panels;
- wooden from a log or bar;
- sip panels;
- monolithic concrete;
- frame-panel structures.
In each case, it is necessary to solve the issues of fasteners for wiring, taking into account the features of the wall.
Concealed wiring in a brick wall
When attaching a wire to a brick wall, you need to solve the following tasks:
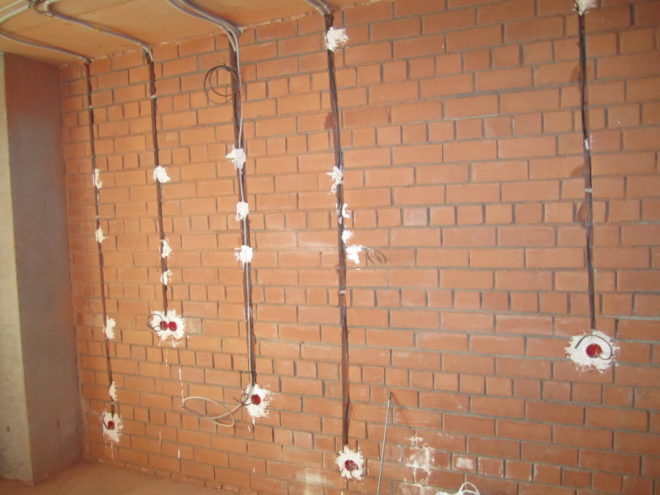
- grind the groove where the electrical cable will fit
- attach the cable inside, distributing it according to the project;
- hide the groove with quick-setting solutions.
In the presence of a perforator with the appropriate working body, the issue of slitting is solved simply.
- Lines are drawn on the wall along which you need to form a groove (channel or groove in the wall).
- The vibration effect of the perforator blade is the destruction of bricks in the right places.
- Using an angle grinder (grinder) with a disc for cutting stone, the section of the groove is being finalized to the desired size.
Tip # 2. Periodic humidification of the air in the work area makes the dust settle faster.
An important issue is cable securing. Here are the options:
- non-replaceable cables - they are fixed with clamps or special metal brackets. Some specialists do it even easier, they hammer small nails inside the channel, and they fix the wires to the wall with a cable tie. You can simply fix the position of the cable with a wire;
- the cables to be replaced are laid inside the cable ducts. They use smooth plastic pipes or corrugated pipelines. Fixation of pipes in grooves is done with clips or staples.
If a new house is being built, then it is possible to provide for the laying of plastic pipes for hidden electrical wiring during the construction phase.It is especially convenient to lay cable ducts between layers of masonry or in voids of well masonry filled with insulation. In order to easily pull the cable in the future, a soft steel wire with a diameter of 2 ... 3 mm is pulled inside the plastic pipes. Later, at the stage of attaching the wires to the walls, they are attached to the wire and pulled to distributors, sockets, lighting fixtures and switches.
An example of installing electrical wiring in a brick house is shown in this video:
Concealed wiring in reinforced concrete panels
At the enterprises where reinforced concrete wall panels are produced, the production of panels with cable channels laid inside in the form of corrugated pipes is necessarily organized. They are more expensive than conventional panels, but some of the cost increase during the construction phase is offset by the convenience of hidden wiring in the wall. To fix the wires, you do not need to gouge the walls, you just have to fix yourself to the wires, and then stretch the wires in the required direction.
Concealed wiring in a monolithic wall
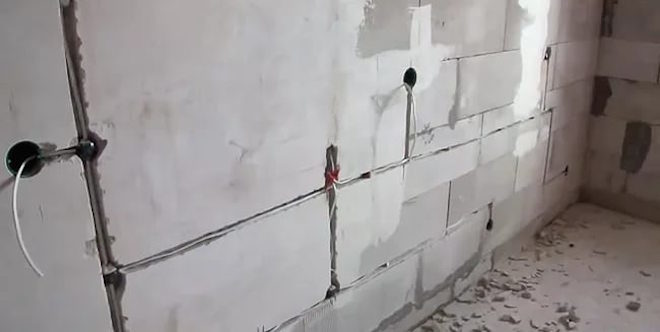
Monolithic walls made of lightweight concrete are one of the ways to quickly erect buildings. A feature of monolithic structures is the use of permanent formwork and regular reinforcement of the future wall. At the construction stage, competent developers use plastic pipes that are installed before pouring. It is convenient to use special fittings here: elbows and tees, - to output cables in the right places on the wall. Wire is laid, and the ends on both sides are wrapped with electrical tape of different colors. Guided by color, it is easy to lay certain wires to the desired consumer.
If the cable channels are not laid, the channels are sawn through in the fixed formwork. The cable is laid in the formed groove, fixed with a cable tie or a metal bracket and the groove is sealed with alabaster mortar. This somewhat disturbs the structure of the wall.
In wooden, frame-panel boards and houses from vulture panels, hidden wiring is usually not done. It is better to organize open laying of cables here in order to safely operate the building in the future.
Create open wire harness
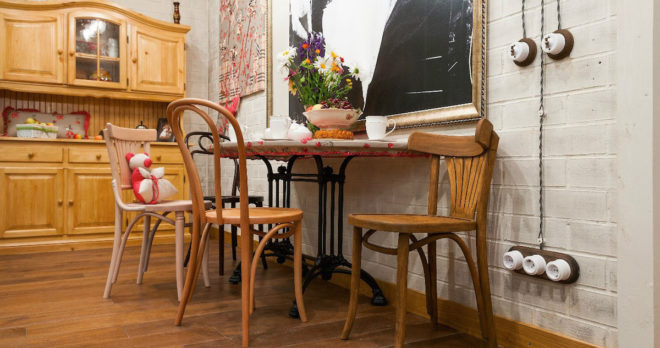
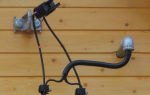
Open wiring is performed with wires twisted into a bundle. To fix the wire on the wall, ceramic insulators are installed, and then a twist is attached, putting them on top of the insulator. Currently, the vintage style has become one of the fashionable trends, therefore, the method implemented at the dawn of the appearance of the Ilyich light bulb is again used in construction practice.
Real exposed wiring is hidden in cable ducts. The industry has mastered several standard sizes of plastic ducts, which are a long box. One or more cables can be laid inside. The cable duct is closed from above with a snap-on cover.
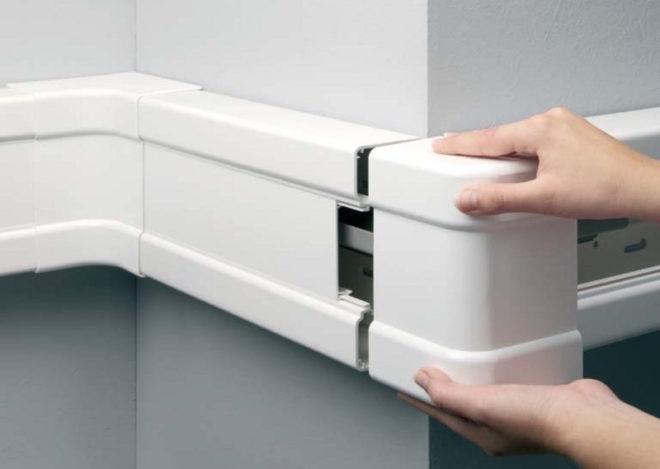
To lay a cable channel, several steps are performed sequentially.
- According to the project, the direction of the channel is drawn on the wall.
- Remove the cover from the channel.
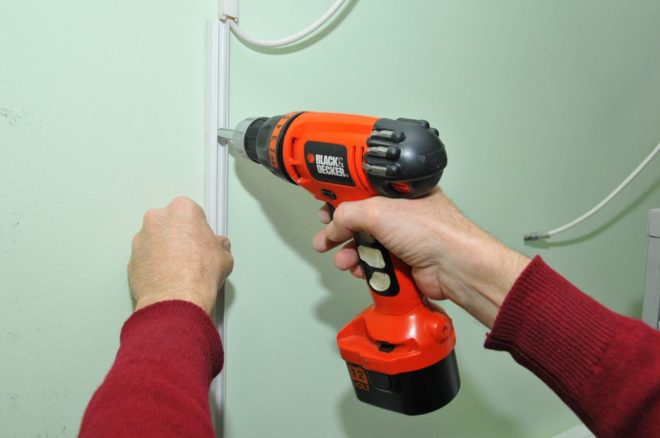
- Using self-tapping screws, the cable channel is attached to the wall.The distance between the screws is recommended no more than 60 cm horizontally and up to 90 cm vertically.
- Dock the channels together. If necessary, cut holes in the walls with a construction knife. The necessary channels are joined to them.
- The wire is laid inside, it is fastened with a cable tie so that it is compactly located and does not go beyond.
- Close the lids. They try to adjust the joint so as to make it less noticeable.
- At the ends of the channels, junction boxes or fittings are installed (turned off or sockets).
The features of wiring in cable channels are described in this video:
Open wiring in service premises can be carried out without cable ducts. The wires are laid along brackets, which, after being mounted on a wall or ceiling, are attracted to the surface. Of course, such a mount is not aesthetic, but it securely fixes the cable in the right place.
You can hide the wiring in the house using plastic skirting boards. They have a cavity closed by a lid. The main purpose is to fix the skirting board to the wall. An additional purpose is to attach the wire and route it to the desired location.
Skirting boards with large channels can be found in the construction markets. Wire harnesses are laid in them, distributing them inside the room. This method of laying the electrical network is convenient for placing wires for television or home Internet.
In any home, you can conveniently perform a competent fastening of the wire to the wall in order to safely operate household and other electrical appliances in the future.