How to properly install a light switch with your own hands
The most important device in household electrical networks is undoubtedly the switch. Whatever room a person is in (living room or bathroom, garage or basement, office or workshop), the first thing he will do is turn on the lights in the rooms using switches. In this article, we suggest that you familiarize yourself in detail with how to install a light switch. Moreover, it will be absolutely easy to do it yourself, do not waste money and time on inviting an electrician. Having basic knowledge of physics and electrical engineering, you can do it yourself.
Device
Before installing the switch, let's take a look at how this switching device works. Let's do this using the example of the simplest single-button light switch.

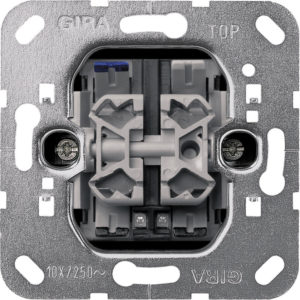
The most important part of this device is the working mechanism. It is a metal frame on which the drive is fixed, which directly switches on and off the device. In fact, this actuator is a moving contact that connects the two fixed contacts of the circuit breaker.
One fixed contact is incoming, a wire from the supply network is connected to it, the second is an outgoing one, it is connected with a wire to the lamp. The correct position of these two fixed contacts is open, while the switch is considered to be off, the circuit between the supply network and the luminaire is not closed, the light is off. As soon as there is an impact on the drive of the switch, the movable contact takes on such a position in which it closes the circuit between the two fixed ones, a voltage is supplied to the light from the power source and it lights up.
 For safety reasons, the entire contact part is placed in some kind of dielectric (this can be plastic or porcelain).
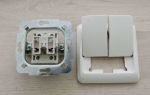
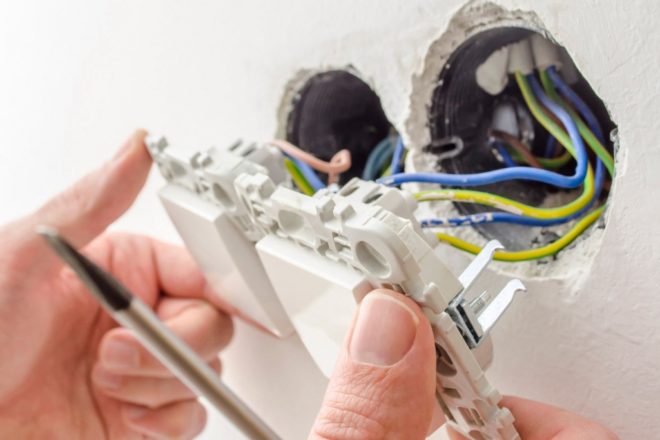
The switch is installed in the wall holes, but before that, special socket boxes must be installed in the holes made in the wall. And already in them the working mechanism of the switches is fixed. Their reliable fixation is carried out due to the sliding legs located on the sides of the working part.
Another structural component of the circuit breakers is the protective elements. As a rule, they are made of plastic. The first of these elements is a key, it is attached to the drive of the working part and directly controls the switching device. The second element is a protective frame, it covers the working part and prevents a person from touching the contacts of the switch that are energized. The frame is fastened with screws or plastic clips.
Materials and tools
Before installing the light switch, stock up on the necessary materials and tools. If you are going to do everything with your own hands, then you will need not only an electrical installation tool, but also a construction one.
First you need to punch a hole in the wall. Suitable for this purpose:
- Bulgarian. You can use it to make a square hole in the wall, but that's okay. After inserting the socket, cover the remaining space with a solution of alabaster or gypsum.
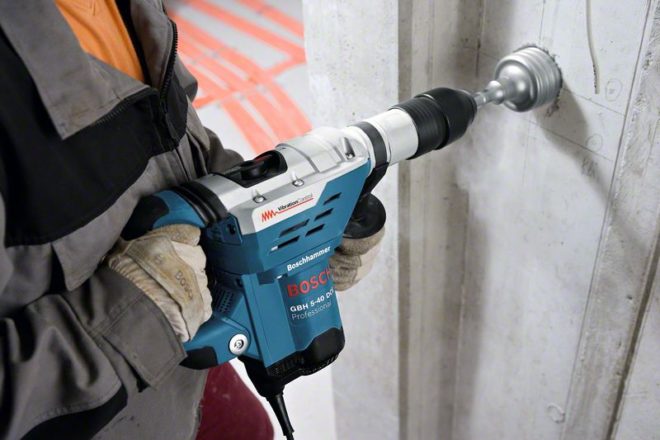
- Perforator with a special crown for concrete. I would like to say right away that with the help of such a tool you can make a wonderful even hole in the walls from cinder block, brick, foam concrete, gypsum, aerated concrete. If the wall is concrete, then first a future hole is marked with such a crown. Then place the drill on the hammer drill and drill many small holes close to each other along the marked contour.Next, alternate between the drill and the chisel, knocking out the inside of the intended hole. There is an option to purchase a diamond-coated crown, it will cope with the concrete wall itself, but this is a very expensive pleasure.
- A conventional drill with a special crown for wood or a screwdriver will help you make a neat hole in drywall walls.

To secure the socket in the hole you will need:
- container for mixing the solution;
- gypsum (alabaster);
- water;
- putty knife.
To put the switching device itself, you will need:
- Plastic or propylene socket.
- One-key switch.
- Indicator screwdriver.
- Wire stripper.
- Two-core wire (section 2.5 mm2).
- Insulating tape.
- Flat and Phillips screwdrivers.
Also, a wire in grooves must be laid to the installation site of the switch. To make these grooves, you need a chisel with a hammer or a power tool (grinder, wall chaser).
Installing the socket
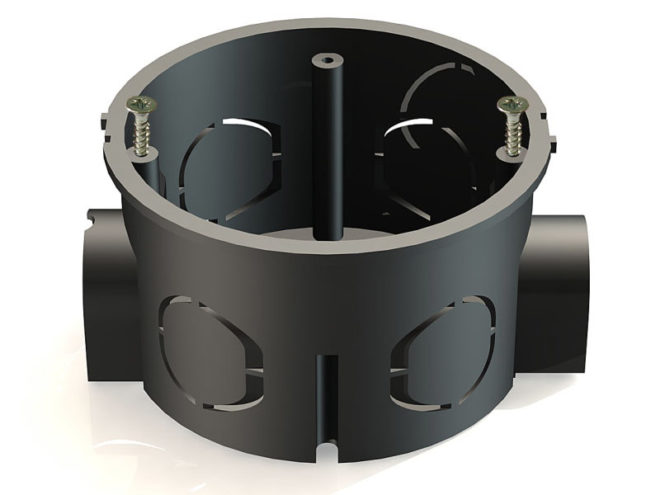
The installation of switches begins with the installation of socket boxes (in another way they are called junction boxes). This is perhaps the simplest part in the whole process, no special building skills are needed here, everything is done easily and simply with your own hands.
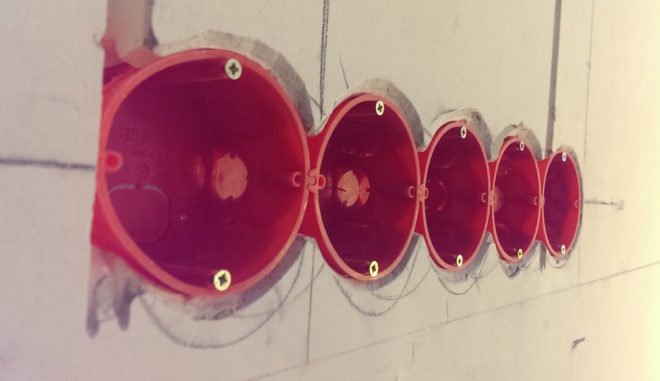
In concrete, brick, stone or block walls, the installation box is installed on a gypsum mortar (in extreme cases, on plaster). Spread the hole inside with gypsum solution, quickly install the flush plate and coat the remaining empty spaces. Plaster hardens in minutes.
When the walls are made of plasterboard sheets, the installation process is simplified. You just need to purchase a special socket box with fastening paws, insert it into the hole and tighten with screws.
A good video instruction for installing socket boxes:
and by drilling holes for them:
Step-by-step instruction
Before you start the process of installing the switch with your own hands, I want to remind you of one very important rule.
So, the junction box is installed in the wall, two wire cores are inserted into it. You can proceed with the direct installation of the switching device:
- The first step is to determine the phase wire. Take an indicator screwdriver and alternately touch both cores with it. If the indicator window on the screwdriver lights up, then this wire is a phase, you can carefully mark it with insulating tape.
- Now turn off the machine that supplies voltage to the room or common to the apartment. Again using an indicator screwdriver at the work site, check that there is no voltage. Touch it to the newly discovered and planned phase wire, the screwdriver should not glow.
- Take the switch in your hands, using a flat screwdriver on the left or right, gently pry the button and remove it.
- Unscrew the two screws that secure the safety frame and remove it.
- There are two contact screws at the top of the working mechanism. On many models, they are designated. For example, the numbers "1" and "3", or the English letter "L" and an arrow pointing down, respectively, these symbols indicate the incoming and outgoing contacts. Unscrew these screws.
- Strip the wires inserted into the socket box of insulation by 1 cm. Insert the phase wire into the hole of the incoming contact, and the second wire into the hole of the outgoing one.Tighten the screws and check if the wires are well fixed. If wobbling occurs, be sure to tighten it tight, because poor contact will lead to burning and further breakdown of the switch. But you don't need to overdo it here, so as not to rip off the screws.
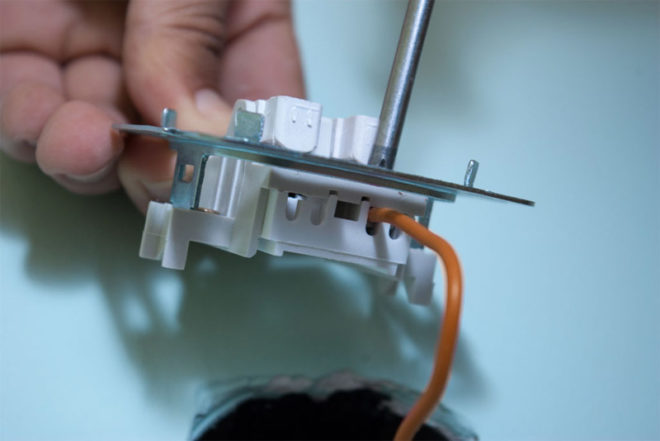
- There are also two more spacer screws on the working part. Unscrew them, place the operating mechanism in the mounting box, carefully align horizontally and fix in this position by tightening the spacer screws. Check your work, slightly try to shake the working part. If it is securely fixed in the socket, install the protective frame on top by screwing it in with two screws.
- Fasten the button to the operating mechanism drive and check how the installed switch works. To do this, turn on the introductory machine. Press the switch key, the lamp in the lighting fixture should light up. When you press the key back, the light should go out.
In modern models of switches, plug-in contacts are often used instead of screw contacts, they have rather well proven themselves. The wire must be plugged into the contact hole, it must go in tightly and abut. If you try to pull the wiring back, then with a certain effort it should not stretch, which means that the contact is good. Just don't use all the strength you have! And so that you can, if necessary, pull out the wiring from the contact hole, there are special levers.
For more information on installing the switch, see this video:
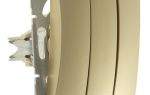
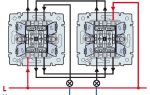
The essence of installing a two- or three-button switch is the same, the only difference will be in the connection diagram itself. And if you figured out how to properly mount an ordinary switch with your own hands, then, for sure, you can cope with more complex switching devices.