How to replace a light switch with one or two keys

Failure of the switch can occur for various reasons: from short circuit to banal wear of the box. In order to replace it, you can call an electrician, but if you wish, this work can be done independently. There is nothing difficult in this operation, and any adult, even without special knowledge, can cope with it in no more than half an hour. However, it should be remembered that since this work is connected with electricity, you need to take care of safety measures. In this article you will find a detailed answer to the question of how to change the switch with your own hands.
Preparation for work
Before you start replacing the switch, you need to make sure that the reason is in it. Often the "culprit" is the cartridge, so first you should check it with a probe or multimeter, having previously unscrewed the lamp.
Also make sure there is light in the rest of the rooms.
After making sure that the switch is faulty, it must be dismantled. It should be remembered that the replacement of the light switch is carried out in a de-energized apartment, therefore, it is necessary to turn off the voltage that is supplied to the room with the switch. Warn everyone at home that you are working with electricity and at this time they should not turn on any electrical appliances, and even more so - touch the switch.

Let's first figure out how to change the switch with one button.
Removing the switch
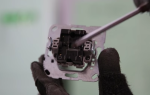
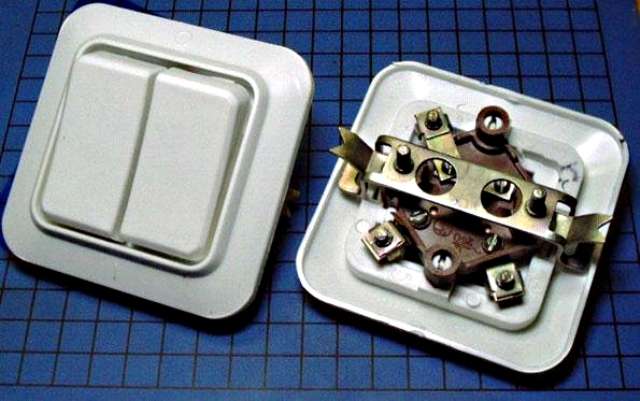
To dismantle a faulty device, you must first remove its protective cover, made of plastic or carbolite. To do this, you need to unscrew the 2 fastening screws.
The one-button switch mechanism is fixed inside the socket with spacer lugs. It has a pair of screw terminals with cable cores connected to it. The position of the feet can be adjusted if necessary with the screws on the left and right sides.
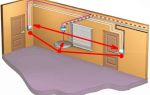
Before removing the mechanism, you need to determine which vein the phase approaches to it. For this we need a probe screwdriver. Touching her contacts one by one, we check the presence of voltage. Then the device key should be switched to another position, and then re-check.
The supplying phase conductor of the cable is the one at the contact of which the probe indicates the presence of voltage; however, it is absent on the second contact. The zero core must go to the lighting device.
Phase detection is performed on a live circuit breaker, so you must be extremely careful when performing this procedure. Only after its completion, the room must be de-energized by turning off the switch or unscrewing the plugs.
After de-energizing the apartment, you need to make sure that there is no voltage on the switch, and then continue to dismantle it. In this case, you need to proceed as follows:
- Remove the mechanism from the socket after unscrewing the screws of the spacer lugs.
- After that, you need to separate the wires, starting with the phase one. Unscrew the contact screw, pull out the cable and mark it with electrical tape.
- Disconnect the second cable from the mechanism.
- Straighten the wires.
This completes the dismantling.
Preparing to connect
Before connecting a new device, you need to prepare it for installation. The procedure is as follows:
- Remove the key using a flat screwdriver.
- Unscrew the screws to gain access to the mechanism. The design of these devices is different, but they are connected according to a single principle and are fixed to the socket by means of spacer legs. The movement of the latter is provided by screws.
A pair of screw clamps and a pressure plate are provided to fix the wires. With their help, you can loosen the fastening, or, on the contrary, press the veins more strongly. Each contact can be connected from one to two cores.
Installing a new switch
Having prepared the mechanism for installation, we proceed directly to its connection. In this case, you need to act in the following order:
- Strip the ends of the wires from insulation 1-1.5 cm with a knife.
- Insert the cleaned core into the contact hole, while making sure that there is no insulation in the clamp. It should be remembered that the phase conductor (red) must be fixed in the socket of the contact marked with the symbol L1, and the zero (black or blue) in the socket L2.
- If the end of the core sticks out more than 2 mm, trim the excess.
- Tighten the contact screw.
- Pull on the cable to make sure the contact is secured well. The wire must remain stationary. If this is not the case, tighten the contact more tightly. But it is important not to overdo it - you can break the thread.
- Strip the next wire and insert it into the hole.
- Fix in the same way, make sure that the fixation is good.
After that, the switch must be inserted inside the socket and secured with sliding strips. Then supply electricity to the room and check the operation of the device under voltage.
If the light turns off when you press the up key, you should swap the cables or simply turn the mechanism case over.
After making sure everything is in order, reinstall the switch button and screw the cover. When installing the key, you need to make sure that the pins on it fit into the key grooves. This completes the replacement of the switch.
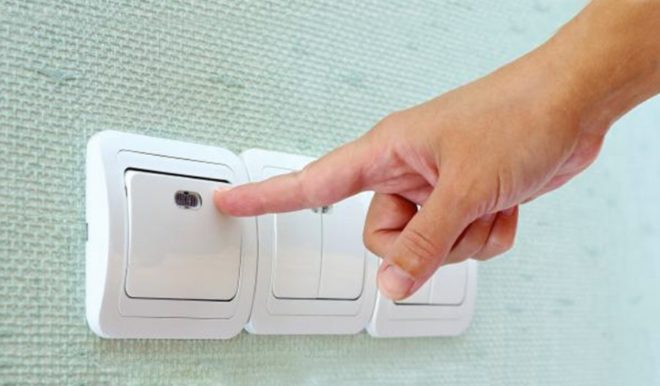
Let's move on to the question of how to correctly change a switch with two buttons or three. The order of the procedure is almost identical to that observed when working with a one-button device, with the exception of a couple of nuances. When installing a switch with two buttons, the phase is connected to terminal L3 and the other two cables go to terminals L1 and L2. Switches for three keys are connected with four wires, one of which is phase, and each of the other three corresponds to its own connection group.
The whole process of replacing a two-button switch is clearly visible in the video:
Conclusion
In the above material, we tried to make out as detailed as possible how to replace the light switch. As you can see, this procedure does not present any particular difficulties, and our readers, having read the article, can easily cope with such work on their own, without the help of a professional electrician.