Connecting a dimmer instead of a switch - wiring diagram
The dimmer is undoubtedly a cost-effective element of the household electrical network. With its help, it becomes possible to adjust the brightness of the lamps, and accordingly reduce their power and power consumption, which, if counted for a year, translates into a tangible amount. Agree that it is not always necessary in rooms to operate the lamps at full power, and it is better to solve this problem with a dimmer than to redo the wiring and break the lighting elements into groups from different light switches. In this article, we propose to start a conversation about how to connect a dimmer.
To make it easier for us to figure out how to install a dimmer with our own hands, for a start we will tell you a little about what this device is and what the principle of its operation is.
Content
Application area
The dimmer got its name from the English verb "to dim", which literally means "darken", "dim" or "dim" in Russian. In another way, this device is often also called a dimmer. However, with its help, you can adjust not only the brightness of lighting devices, but also the heating temperature of some electrical appliances (for example, an iron, electric stove or a soldering iron).

Its work with incandescent bulbs is considered the most effective, because the dimmer helps to extend their service life. We know that inrush currents are often the cause of bulb burnout. In the event that a dimmer is present in the circuit with the lamp, the minimum current will be supplied to it during switching on.
A dimmer cannot be connected to devices that require a pulsed or transformer power supply (such as a radio receiver, TVs). This is due to the characteristic features of the regulator. The signal that is present at the output of the dimmer has a non-sinusoidal shape, due to the keys, the tops of this curve are cut off. Such a signal will damage the specified equipment.
It is also not recommended to connect an ordinary dimmer with fluorescent lamps. Such a scheme will either not work at all, or will lead to the flashing of the lamps. To adjust these light sources, there are special devices with a slightly different circuit. The same goes for halogen and energy saving lamps. If you connect the dimmer to these light sources, then the first will not be regulated at all, and the second will blink. There are also special regulators for them, however, their price is much higher than that of ordinary ones.
Kinds
The simplest dimmer works on the basis of variable resistors (rheostats). This method of lighting control is considered ineffective, has a low efficiency, due to overheating and the need for cooling. Now manufacturers do not mass-produce such devices, most often radio amateurs make them independently.
The regulator, which is based on the operation of an autotransformer, produces an almost perfect sinusoidal curve at the output. But such a device has large dimensions and weight; considerable effort will be needed to adjust it.
The most popular at the moment are electronic dimmers, based on the operation of thyristors, transistors and triacs. It is precisely them that cannot be used with equipment that requires a sinusoidal form of power supply. Such regulators have another drawback, during operation they create interference that interferes with the normal functioning of radios and other sensitive devices.However, despite the listed disadvantages, electronic dimmers are used more often than others, due to their low price, small size and available additional functions.
In terms of execution, the regulator is:
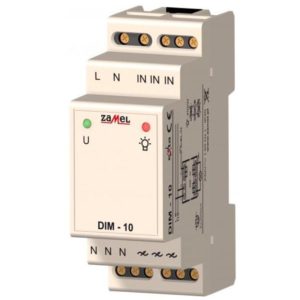
- Modular. They are installed in the switchboard. The connection diagram for a dimmer of this design works with incandescent and halogen lamps through step-down transformers. To make them more convenient to use, the dimmer has a remote button or rocker switch. As a rule, a modular type of dimmer serves to regulate the brightness of lamps at the entrance gates, flights of stairs or courtyard lighting.
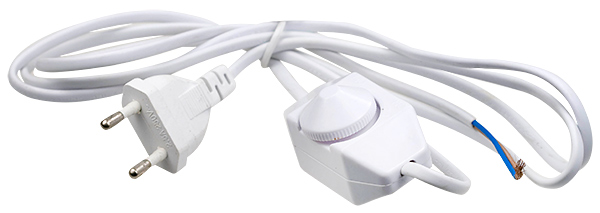
- On a cord. You can call it a mini-device that adjusts the lighting of lamps that are not immediately connected to the general power grid, but are connected through an outlet and a plug (table lamps, sconces, floor lamps). This regulator only works with incandescent lamps.
- Monoblock. Outwardly, it is very similar to an ordinary switch. Works with different types of lamps, as a rule, this is indicated on the body. The device is installed in the electrical circuit for a phase break, this dimmer is mounted instead of a switch.
Monoblock options are often used in apartments. In private housing construction, it is convenient to install modular devices when you need to control the light in the surrounding area.
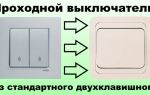
It is worth noting that there are still pass-through models of dimmers, they work on the same principle as pass-through switches, that is, the light can be adjusted in two places.
Dimmer control methods
Monoblock dimmers, in turn, have several types depending on the control method:
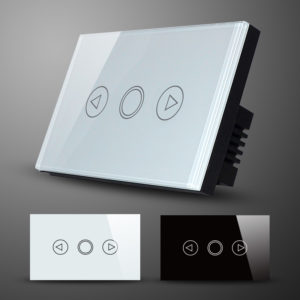
- Sensory. These models are considered the most reliable, there are no mechanical elements in them, so there is nothing to break. Control is carried out by touching the dimmer screen.
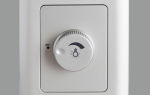
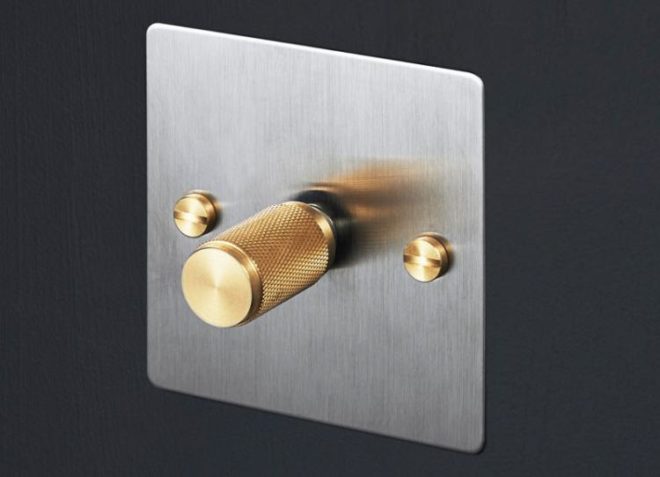
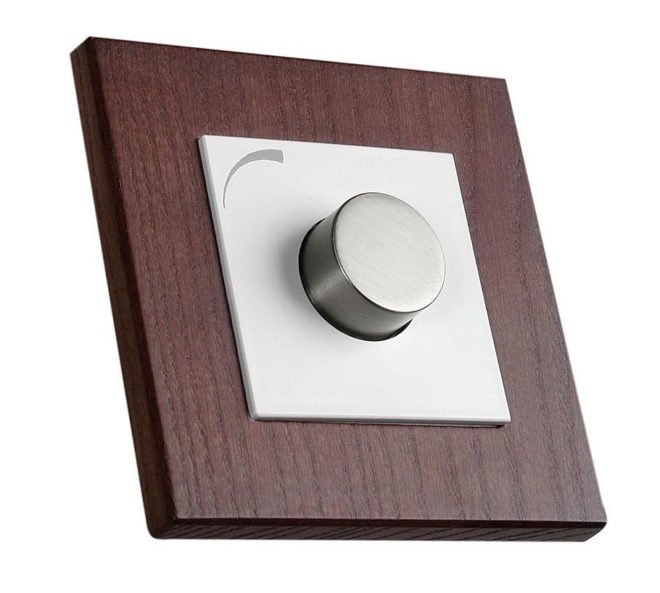
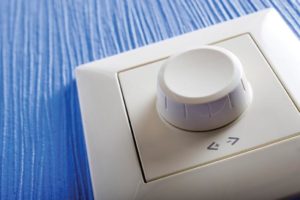
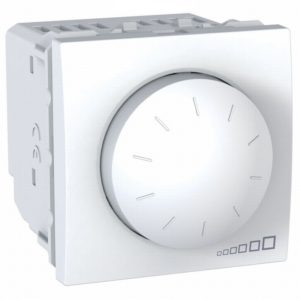
- Swivel. Such a dimmer is controlled by a rotary dial, to turn off the lighting, you need to turn it to the extreme left position. Such a model is very convenient to use and widespread, it has only a small drawback - the last illumination value cannot be fixed, it always turns on at the minimum brightness.
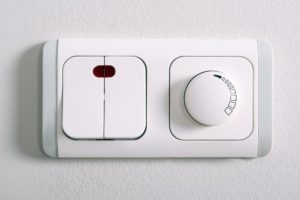
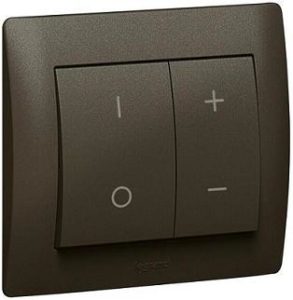
- Keyboards. This model is generally easy to confuse with a switch. To turn the light on or off, you need to flip the key, and to adjust it, you must hold it down for more than 3 seconds. Some models have two buttons - one turns on and off the lighting, the second adjusts it.
 dimmer keyboard
 - Rotary-push. The essence of the work, as in the rotary dimmer, only to turn the light on and off, the rotary knob must be pressed, and then the brightness must be adjusted by turning it.
Additional functions
The very first dimmers had an electromechanical device, and with their help it was only possible to adjust incandescent lamps.

Modern devices provide the consumer with several more additional functions:
- They can turn on and off the lighting according to a set timer.
- They can be installed when arranging the "smart home" system, now it is very fashionable.
- Due to the fact that you can set a certain time on and off the lighting, the dimmer allows you to create a so-called presence effect. This is very convenient if you have a long trip and you leave your home unattended.
- With the help of a dimmer, you can set various modes in the operation of the lamps, for example, make them flash.
- With the help of modern dimmers, you can control the lighting acoustically, that is, using a voice command or clapping your hands.
- The device makes it possible to control the brightness of the light remotely.
The simplest scheme
Let's consider how to connect a monoblock dimmer. This is the most common model, it is more often than others connected independently and mounted instead of a switch.
The installation of the dimmer into the network is done in the same way as the switch, for a phase break, in series with the load. A special point is that phase and zero cannot be confused. If you connect the regulator incorrectly and set it to break zero, the electronic circuit will be damaged and malfunctioned.
Therefore, first of all, it is necessary to determine the phase wire. The algorithm for these actions will be as follows:
- Disconnect the machine that supplies voltage to the workplace. That is, it can be an introductory machine for the whole apartment, or for this room.
- Check the absence of voltage and remove the switch. Remove the key, the protective panel, disconnect the wires from the input and output terminals and pull the operating mechanism out of the socket.
- We have got two wires free, we need to find out where is the phase one coming from the junction box. Turn on the power supply machine again and gently touch both wires with an indicator screwdriver. That vein, upon contact with which the window on the indicator lit up, is the required phase. Touch the second core, the window does not light up, which means that this is a wire that already goes from the switch to the lighting device. Carefully mark the required phase wire with a marker or a piece of insulating tape.
- Disconnect the circuit breaker again to connect the dimmer. The circuit is very simple, connect the detected phase to the input contact of the dimmer. Connect a wire to the output contact that goes to the load (luminaire) through the junction box.
There are dimmer models in which the input and output contacts are marked, then make the connections according to the markings:
- "L-in" - this is the designation of the phase-input;
- "L-out" - this is the designation for phase-out.
If nothing is signed in your model, connect arbitrarily.
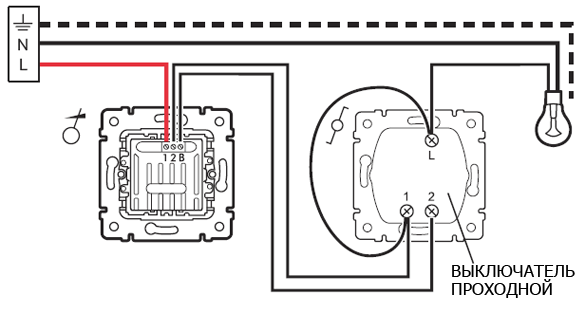
Dimmer with switch
A slightly more complicated circuit is also popular, but, of course, very convenient, especially for use in bedrooms - a switch is installed in front of the phase break in front of the dimmer. The dimmer is mounted near the bed, and the light switch, as expected, when entering the room. Now, while lying in bed, it is possible to adjust the lamps, and when leaving the room, the light can be completely turned off. When you return to the bedroom and press the switch at the entrance, the lamps will light up with the same brightness with which they were lit at the moment of shutdown.
In the same way as pass-through switches, pass-through dimmers are connected, which makes it possible to control lighting from two points. There should be three wires from each dimmer installation location in the junction box. A phase from the mains supply is applied to the input contact of the first dimmer. The output pin of the second dimmer is connected to the lighting load. And the two pairs of the remaining wires are connected by jumpers.
Installing a rotary dimmer
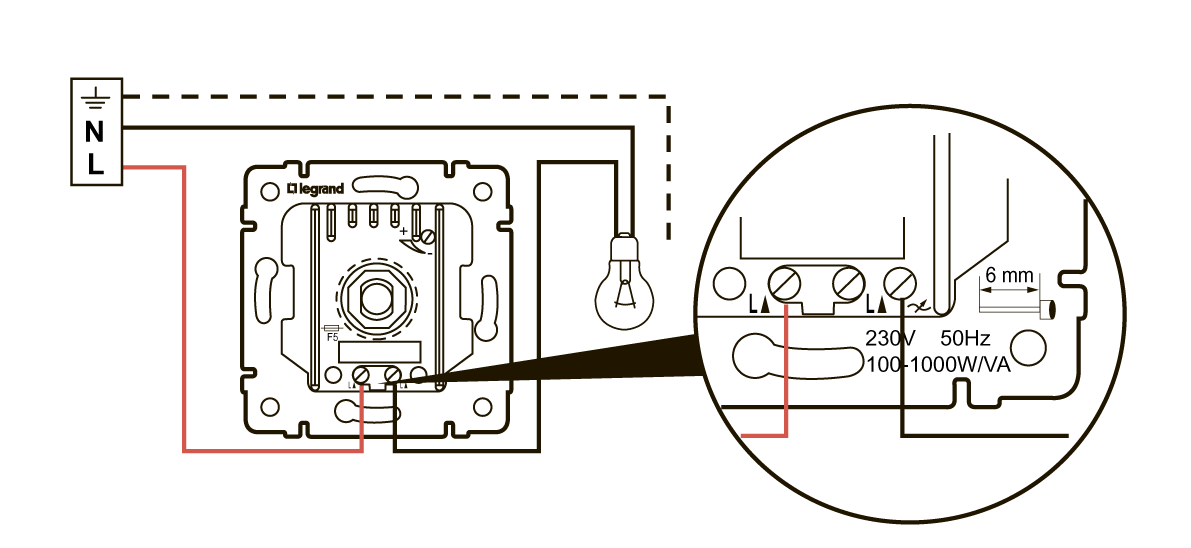
Let's look at an example of how to properly connect a rotary dimmer:
- Start by parsing. Pull the rotary handle slightly towards you and remove it.
- Below it you will see a button secured with a clamping nut. Unscrew this nut and remove the bezel.
- There is a working part under the panel, connect the wires to the contact outputs according to the diagram above. Now insert the working part into the socket and fix it with the screws.
- Place the bezel on, secure with the nut and secure the turntable on top. The installed dimmer is ready for use, it remains to make sure that the circuit is correct.
- Turn the dial counterclockwise, you will hear a characteristic click, which means that the dimmer is off. Apply voltage to the room by turning on the supply machine. The lamps in the luminaire are off, which means everything is correct, because our regulator is turned off. Now start turning the dial clockwise, you will hear a click again, meaning it turns on.After that, the voltage across the lamps will begin to increase smoothly, and the brightness of the lighting will increase accordingly.
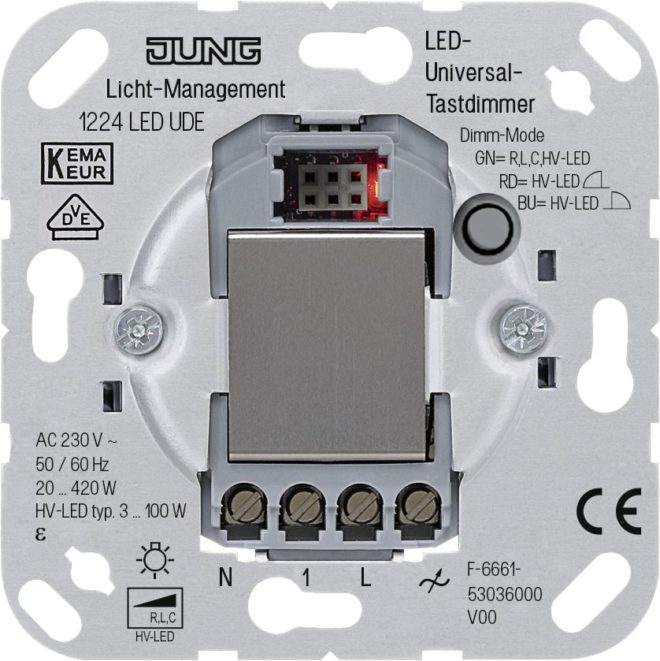
The dimmer is connected to LED lamps in the same way, for a phase break. There is only one small difference, the wire from its output contact does not go directly to the lamps, but first to the led lamp controller.
How the installation and connection of the dimmer is made is shown in this video:
As you can see, connecting the regulators is not particularly difficult. If you know how to install and assemble a circuit for switches, then you can handle dimmers.