DIY voltage indicator (electrician probe) on LEDs

Checking the voltage in the circuit is a procedure necessary when performing various types of work related to electricity. Some amateur electricians, and sometimes professionals, use a home-made "control" for this - a socket with a light bulb to which wires are connected. Although this method is prohibited by the "Rules for the Safe Operation of Consumer Electrical Installations", it is quite effective if used correctly. But still, for these purposes it is better to use LED detectors - probes. You can buy them in the store, or you can make them yourself. In this article, we will tell you what these devices are for, on what principle they work and how to make a voltage indicator on LEDs with your own hands.
Content
What is a logic probe for?
This device is successfully used when it is necessary to perform a preliminary check of the operability of the elements of a simple electrical circuit, as well as for the initial diagnostics of simple devices - that is, in cases where high measurement accuracy is not required. With a logic probe, you can:
- Determine the presence in the electrical circuit of a voltage of 12 - 400 V.
- Identify the poles in the DC circuit.
- Check the condition of transistors, diodes and other electrical elements.
- Determine the phase conductor in the AC circuit.
- Ring the electrical circuit to check its integrity.
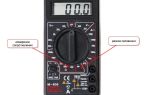
The simplest and most reliable devices with which the listed manipulations are performed are an indicator screwdriver and a sonic screwdriver.
Electrical Probe: Principle of Operation and Manufacturing
A simple identifier on two LEDs and with a neon lamp, which has received the name "arkashka" among electricians, despite its simple device, allows you to effectively determine the presence of a phase, resistance in an electrical circuit, and also detect a short circuit (short circuit) in the circuit. The universal electrician probe is mainly used for:
- Diagnostics for breakage of coils and relays.
- Dial-ups of motors and chokes.
- Rectifier diode checks.
- Pin definitions on transformers with multiple windings.
This is not a complete list of tasks that can be solved with a probe. But the above is enough to understand how useful this device is in the work of an electrician.
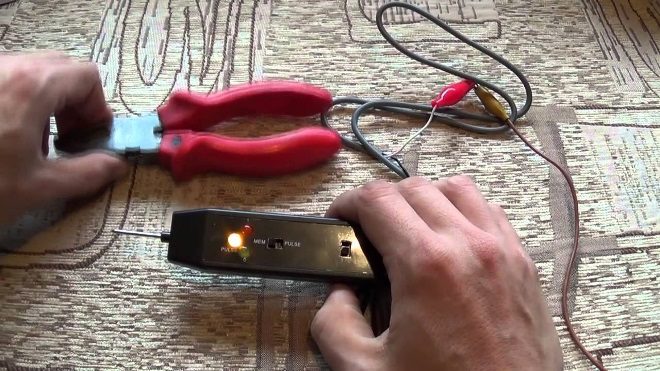
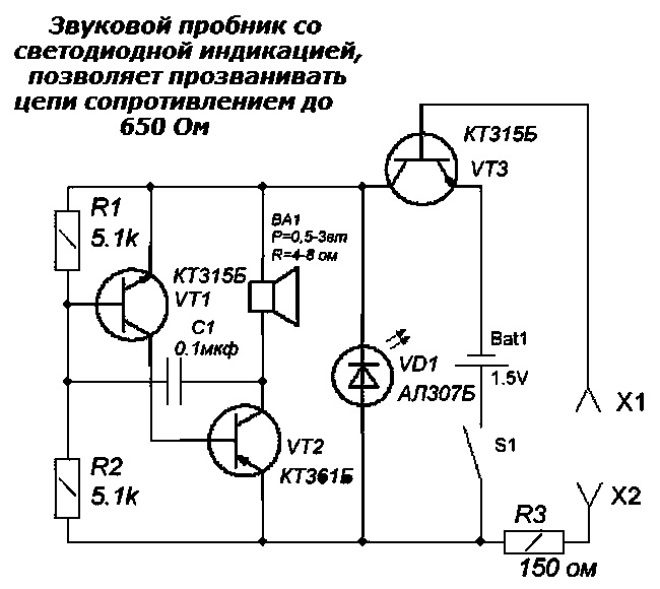
As a power source for this device, an ordinary 9 V battery is used. When the tester probes are closed, the current consumption does not exceed 110 mA. If the probes are open, the device does not consume power, so it does not need a diagnostic mode switch or a power switch.
The probe is able to perform its functions to the fullest until the voltage at the power source drops below 4 V. After that, it can be used as an indicator of the voltage in the circuits.
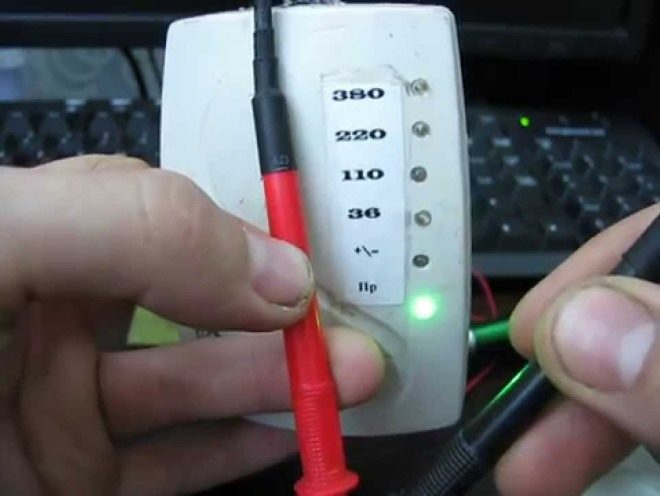
During the continuity of electrical circuits, the resistance indicator of which is 0 - 150 Ohm, two light-emitting diodes, yellow and red, light up. If the resistance indicator is 151 Ohm - 50 kOhm, then only the yellow diode is lit. When the mains voltage from 220 V to 380 V is applied to the probes of the device, a neon lamp starts to glow, at the same time a slight flickering of the LED elements is observed.
The circuit of this voltage indicator is available on the Internet, as well as in specialized literature.Making such a probe with your own hands, its elements are installed inside the housing, which is made of insulating material.
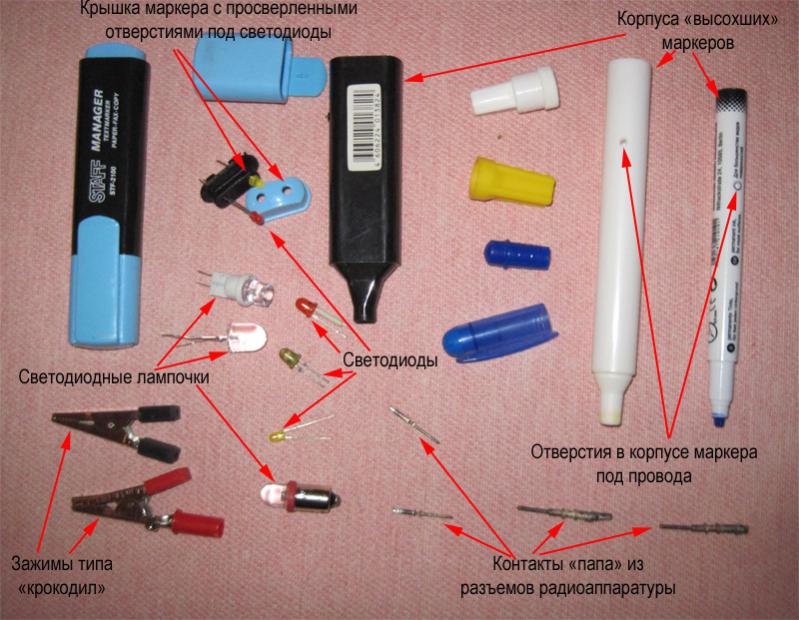
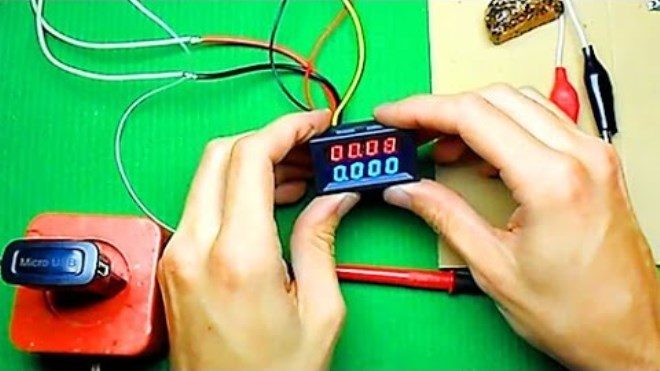
Often, for these purposes, a case from the memory of any mobile phone or tablet computer is used. A pin-probe should be taken out from the front of the case, from the end part - a high-quality insulated cable, the end of which is equipped with a probe or a "crocodile" clip.
Assembling the simplest voltage probe with an LED indicator - in the following video:
How to make a do-it-yourself electrician probe?
Some thrifty amateurs in the "arsenal" can find many useful things, including the earpiece (capsule) for the TK-67-NT phone.
Another similar device is also suitable, equipped with a metal membrane, inside which there is a pair of series-connected coils.
On the basis of such a part, a simple sound probe can be assembled.
The first step is to disassemble the telephone capsule and disconnect the coils from each other. This is in order to free their conclusions. The elements are placed in the earpiece under the sound membrane, near the coils. After assembling the electrical circuit, we will get a completely working identifier with sound indication, which can be used, for example, in order to check the tracks of printed circuits for mutual jumpering.
The base of such a probe is an electric generator with an inductive opposite relationship, the main parts of which are a telephone and a low-power transistor (best of all germanium). If you do not have such a transistor, then you can use another one with N-P-N conductivity, but in this case, the polarity of the power supply should be changed. If you cannot turn on the generator, the terminals of one (any) coil must be interchanged.
You can increase the sound volume by selecting the frequency of the generator so that it is as close as possible to the resonant frequency of the earphone. To do this, the membrane and core must be positioned at an appropriate distance, changing the spacing between them until the desired result is obtained. Now you know how to make a voltage indicator based on a telephone earpiece.
Visually, the manufacture and use of the simplest voltage probe on video:
Conclusion
In this article, we described how a voltage indicator on LEDs can be assembled with our own hands, and also considered the issue of making a simple diagnostic device based on an audio earpiece.
As you can see, it is quite easy to assemble the LED indicator on your own, as well as the sound detector - for this it is enough to have a soldering iron and the necessary parts at hand, as well as to have minimal electrical knowledge. If you are not very fond of assembling electrical devices on your own, then when choosing a device for simple diagnostics, you should dwell on a conventional indicator screwdriver, which is sold in stores.